How to Set Up an iPad for Seniors

Arwin
The first iPad was released a little over a decade ago. Since then, Apple has employed numerous upgrades, versions, features, apps, and accessibility options for all sorts of users. It's safe to say that this technology has revolutionized modern life to a considerable extent. Every kid born in the last decade has used the iPad and similar devices as if it were a natural instinct. However, setting up an iPad for seniors is a whole different ballgame.
See, things weren't always the way they are right now. Previous generations from the late twentieth century have been baffled by the rapid technological advancement in recent years. The integration of the iPad and similar devices as a right hand in our lives is standard for us, but not for them.
Just like we all find handwritten letters an alien concept, the senior community feels the same about iPads. It's nobody's fault that they struggle to save a contact number or watch a YouTube video.
But this is nothing to worry about. The iPad is designed to make life easy for users of all ages. If you can change the settings and functions a bit, senior users will find the iPad easy to use. Yes, that’s right. We said easy.
Here's how to set up an iPad for seniors so they can actually use it with ease and efficiency.
Setting Up an iPad for Seniors Using Accessibility Settings
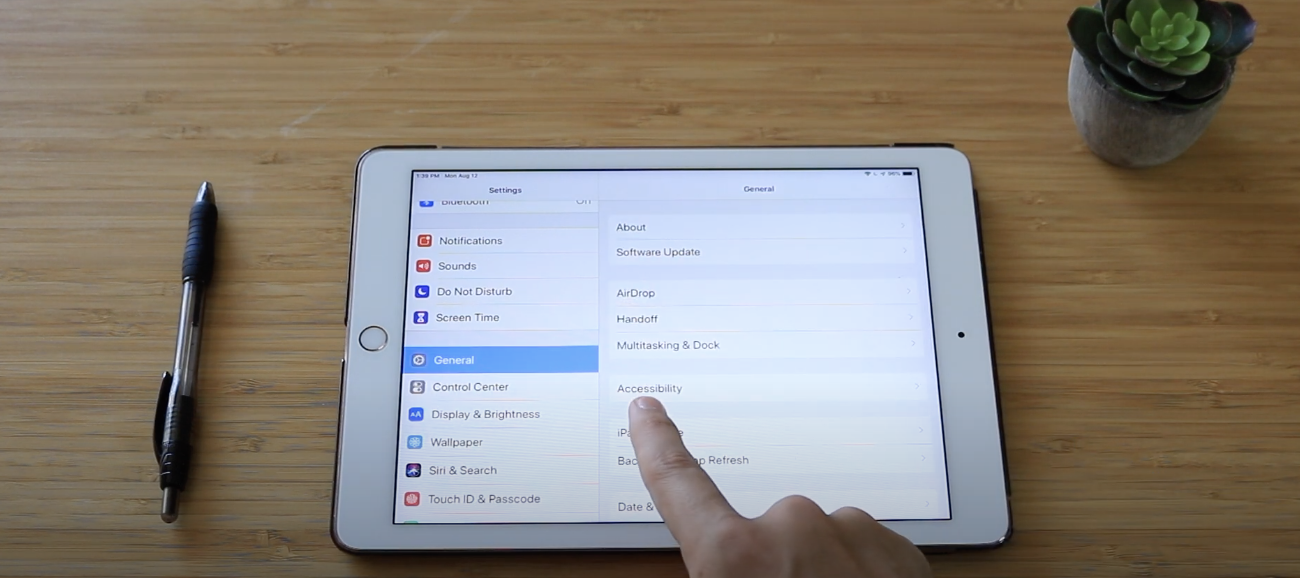
Let's go through the basic accessibility options we have on the iPad. Open the Accessibility tab in the Settings menu to make the iPad more adjustable for the user. The Accessibility features on the iPad have improved a lot since the initial phase. From poor eyesight to hard hearing, there are amazing Accessibility settings that can transform the user experience.
These settings, some of which we discuss below, can bring out the iPad's most prominent and useful features. Seniors don't need to use a number of apps, and the built-in apps of the iPad itself are quite adaptable to the Accessibility settings. This includes reading apps, health monitors, social media, and even camera applications.
1. Zoom and Magnify
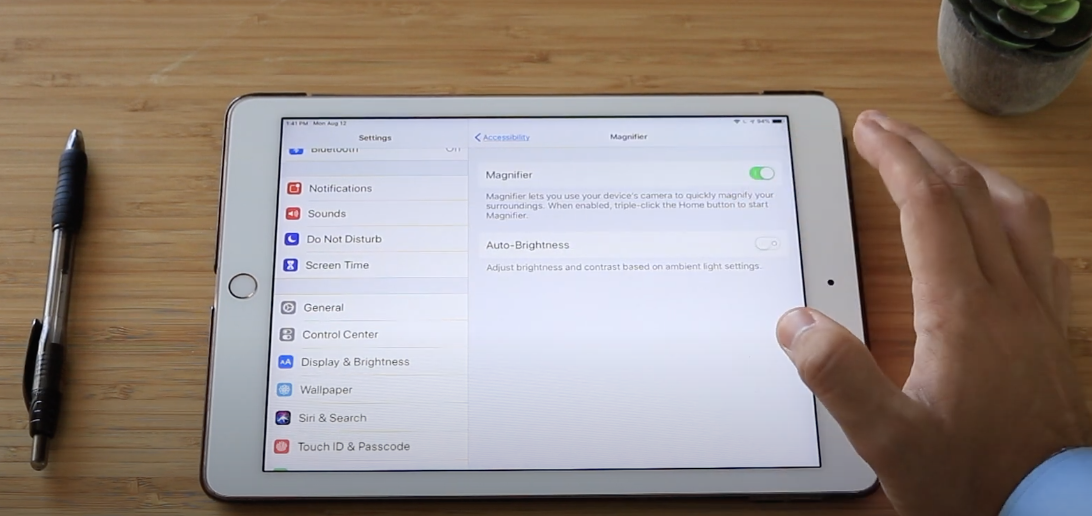
Let's start with the Zoom and Magnifier. Here, you can make some changes in the zoom and magnification of the device operations. Your beloved senior friend can choose how clearly the screen is visible at certain settings. Several apps have smaller icons and buttons, which are rather tricky to use. With these two at your disposal, you can help the user access such areas with more confidence.
2. Increase or Reduce the Contrast
You can adjust the contrast in order to assist seniors with some sort of age-induced, disabled eyesight conditions. The increase and decrease in the contrast makes sure that the screen has balanced and perfectly viewable visuals. Accessing the media gallery, such as photos and videos, is a lot easier with the right contrast balance.
3. Voice Commands
Speech input and output are also pretty commendable and useful in helping out senior iPad users. This is ideal for those who can't read or see very well and need a vocal assistant for guidance. From feeding numbers to hearing out on Kindle, these Accessibility features are quite handy for seniors.
4. Improve the Text Size
It would be no less of a nightmare if your great-granduncle messed up entering a password ten times in a row. Luckily, the text adjustment options in the Accessibility menu are quite practical for all-rounded use in an iPad. You can enhance the text size to make the text more readable.
While we're able to read tiny pop-ups without a pause, it's not the same with our parents and grandparents. You can enable the Larger Text Sizes and select the ones that your parents or grandparents are okay with. There's also an option to bold the text of the software. These features help to space out and highlight texts, particularly on a crowded screen or in far corners.

5. Reducing Transparency
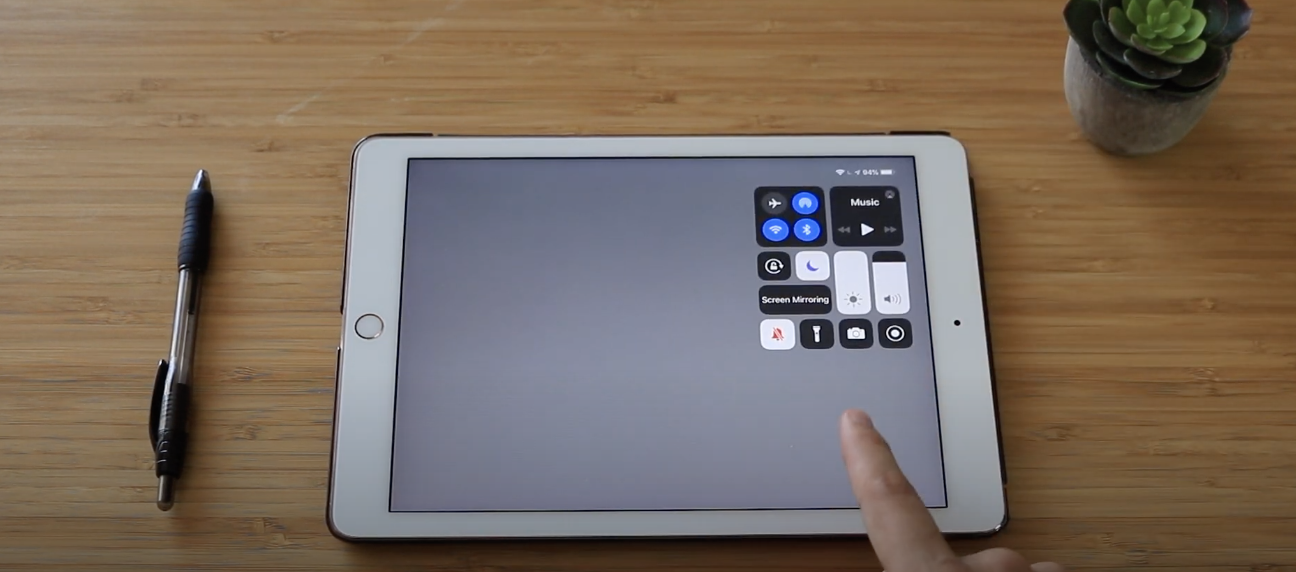
Reducing transparency of the background improves the ability to focus on and work with relevant icons, by darkening the background as shown in the picture below. Reducing the transparency of the irrelevant screen area is a great Accessibility feature, especially for those with shaky fingers or blurred vision. This way, you cancel out this risk of accidentally tapping the wrong areas.
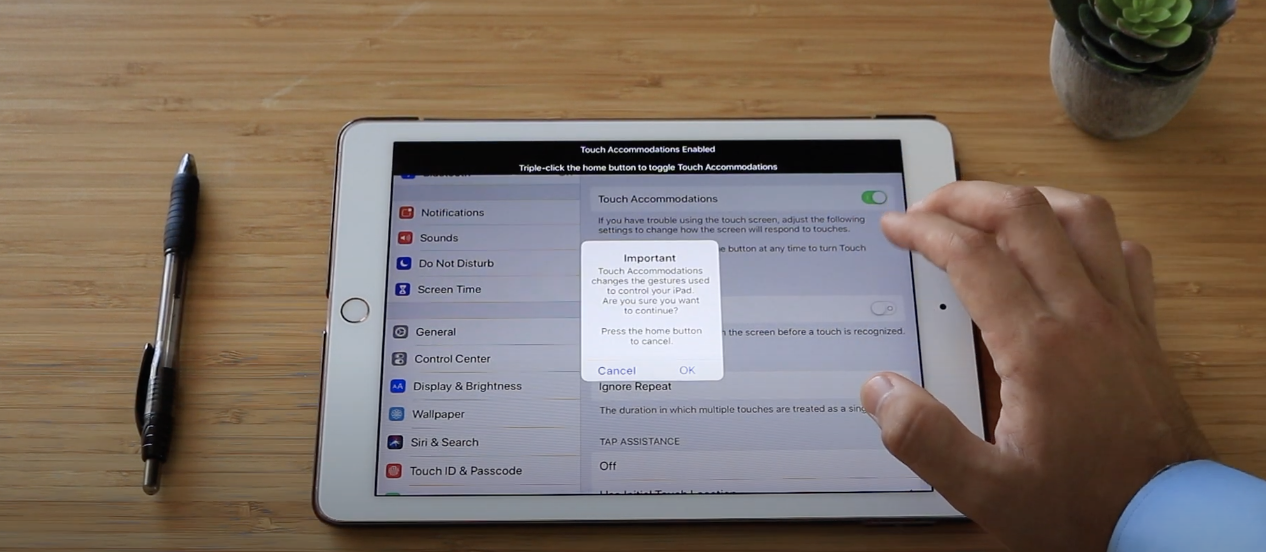
6. Touch Accommodation
Another remarkable feature is the Touch Accommodation in the Accessibility menu. If the person using the iPad has shaky fingers, it can be quite challenging to navigate a touchscreen. The shakier someone's hand is, the more they're likely to tap multiple times in multiple places.
The Touch Accommodation feature makes the user's touch more detectable despite the shakiness. You can select exactly how the iPad should detect the touch. For instance, you can figure out which touch to finalize and proceed with. This gives you two choices. You can choose to opt for the very first tap and ignore the next multiple taps. Or your senior can choose to keep tapping unless they drag their finger to the correct place.
On the whole, this feature works like a charm and saves senior users from excessive tapping and aggressive tapping.
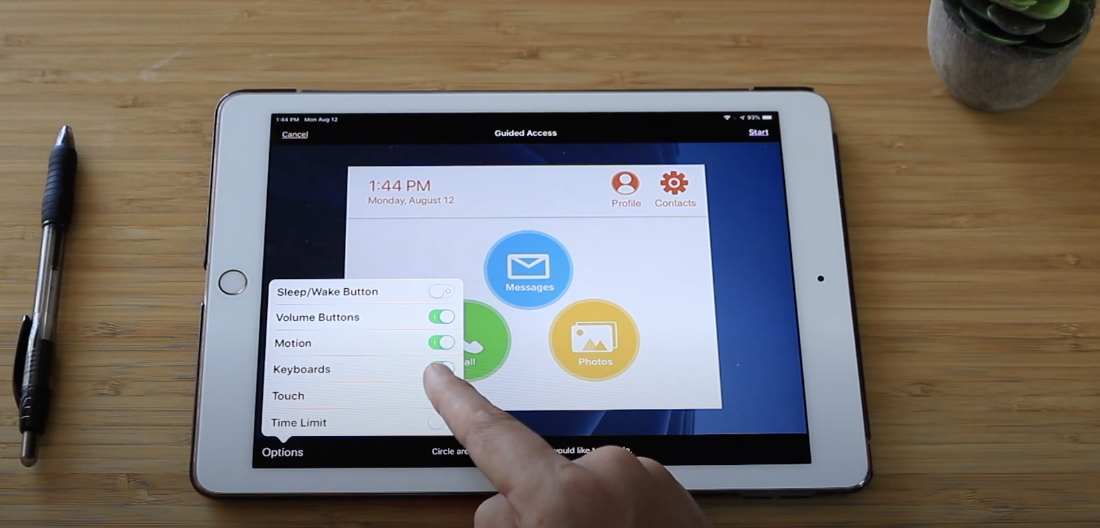
7. Guided Access
With the Guided Access Accessibility feature, you can set up the entire iPad to support senior's use. This feature locks an app with a passcode so that the person using doesn't accidentally navigate elsewhere. You can set up a timer which locks the app interface in the center of the screen. This bottom left corner offers features such as keyboard etc. which you can customize before locking the app. Tapping the Home button or trying to lock the screen, nothing works unless you enter the passcode.
